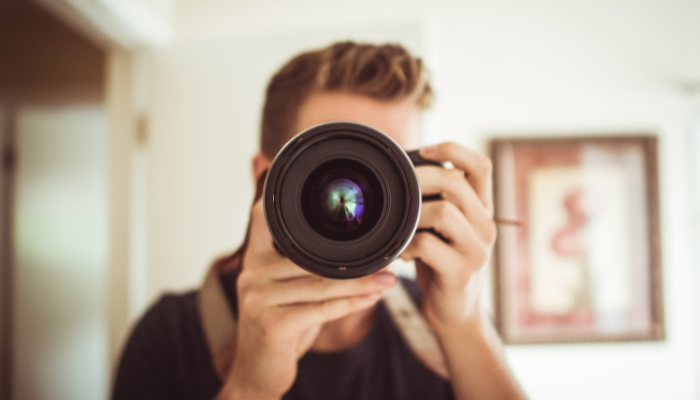
In real estate, the first showing almost always happens online—and the photos do the talking. Great real estate photography doesn’t just capture your home; it captures a buyer’s attention, their imagination, and ultimately, their interest. That’s why preparing your home before the photographer arrives is one of the most important steps in the selling process. With the right prep, your home will shine in every frame and stand out in a sea of listings.
High-quality listing photos are one of the most powerful tools in real estate marketing. They create an emotional connection, drive more clicks online, and can even lead to faster, higher offers. Simply put—great photos don’t just showcase your home, they help sell it.
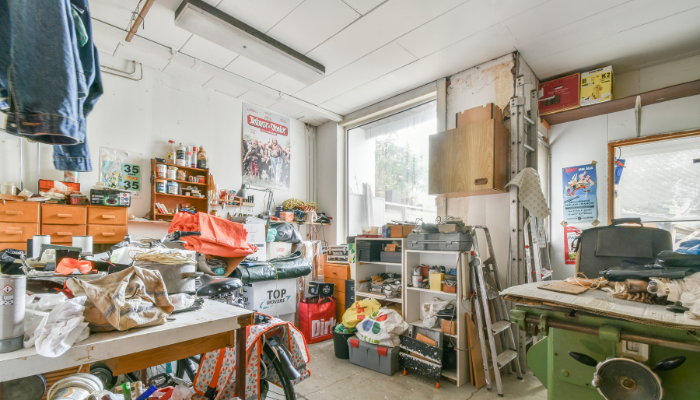
Clutter is the enemy of great real estate photography. Too many items in a space can make rooms look smaller, darker, and more chaotic than they really are. Clear countertops in the kitchen and bathroom, remove stacks of papers, personal items, and small appliances. Aim for a minimalist look—if it’s not essential, put it away. Remember, the goal is to showcase the space, not your belongings. The goal is to have the buyers move THEIR STUFF IN, not have to move your stuff out of the way. Most people have a very hard time overlooking others belongings and placing their furnishings in or imagining the possibilities of what your home can offer in the future.

PRO TIP #2 Clean Like a Pro
Think of your photo day as your home’s “red carpet moment”—every surface should shine. Dust ceiling fans, window sills, baseboards, and furniture. Clean all glass surfaces, including mirrors, sliding doors, and windows, to avoid glare or streaks in your photos. Pay extra attention to bathrooms and kitchens—they should sparkle from floor to ceiling. A clean home suggests a well-maintained home, and that translates directly to perceived value.
PRO TIP #3 Depersonalize the Space
Buyers want to imagine themselves in your home—not feel like they’re visiting yours. Remove personal photographs, children’s artwork, diplomas, or anything that reveals your identity. This helps buyers emotionally connect with the space and mentally move in. Neutral decor and artwork allow the features of the home to take center stage. It may feel a bit empty, but that’s exactly what helps potential buyers picture their own lives in your home.
PRO TIP #4 Let There Be Light
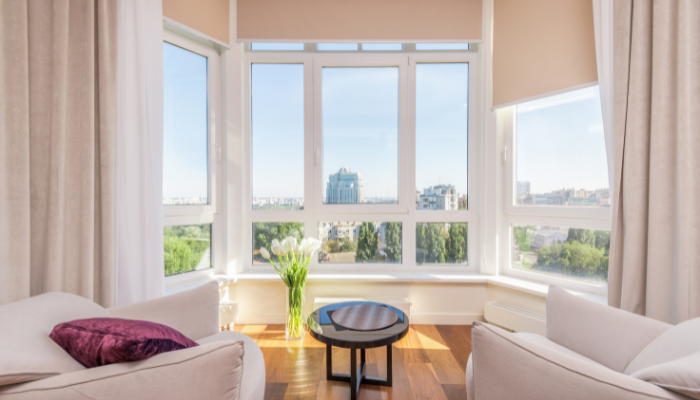
Lighting is one of the most important elements in photography, and natural light is the most flattering. Open all curtains and blinds to let in as much daylight as possible. If your home has darker rooms, turn on lamps and overhead lights to ensure even lighting throughout. Replace any burned-out bulbs with ones of the same brightness and color temperature for consistency. Well-lit homes appear more spacious, clean, and inviting in photos.
EXTRA TIP: Spend a few dollars to ensure that ALL of your lightbulbs in the home are the same color temperature (i.e. cool white, warm white, etc.) People notice these little details.
PRO TIP #5 Stage Thoughtfully
You don’t need to hire a professional stager to make your home photo-ready—small, intentional choices go a long way. Arrange furniture to create open walkways and highlight focal points like fireplaces or picture windows. Add tasteful decor, like neutral throw pillows, folded blankets, or a vase of fresh flowers. In the kitchen, a bowl of fruit or a cookbook on a stand can add just the right touch. Think less “lived-in” and more “showroom.”
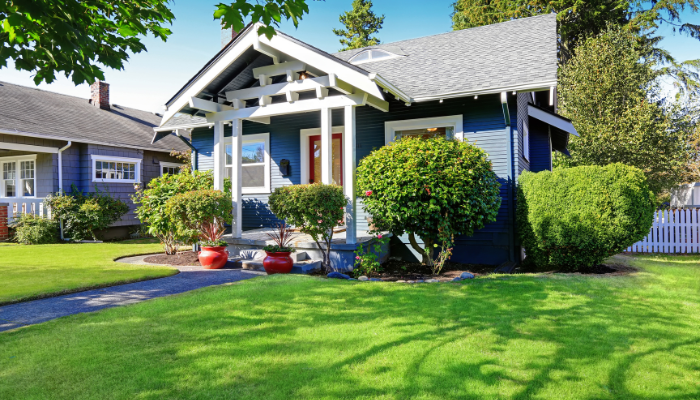
PRO TIP #6 Tidy the Exterior
Curb appeal matters even in online listings. The front of your home is often the first image buyers see, and it sets the tone for the entire tour. Mow the lawn, edge the driveway and walkways, and sweep away leaves or debris. Remove cars from the driveway and close garage doors for a clean, unobstructed view. If you have a patio or pool area, make sure furniture is arranged neatly and cushions are fluffed—these outdoor spaces can be major selling points.
PRO TIP #7 Hide the Extras
Everyday items can be distracting in photos, even if you’re used to them. Tuck away pet bowls, food containers, litter boxes, trash cans, laundry baskets, and cords. In bathrooms, remove used towels, bathmats, razors, and toiletries. In the kitchen, clear the refrigerator of magnets, photos, and grocery lists. A visually clean space helps the eye move naturally around the room and draws attention to the home’s best features.
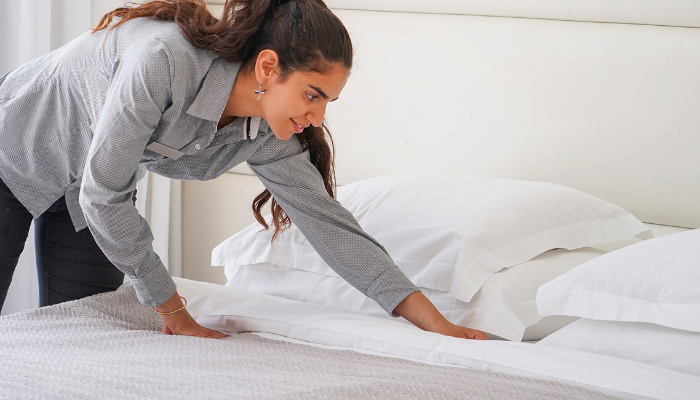
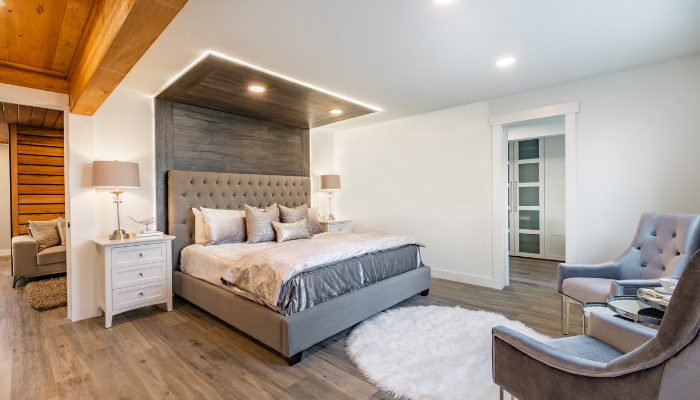
PRO TIP #8 Make the Beds, Smooth the Linens, and Fluff the Pillows
Bedrooms should look restful, clean, and inviting. Make all beds neatly using coordinated linens, adding a few accent pillows for style. Smooth out wrinkles in comforters, bedskirts, and curtains, as even minor creases can show up in photos. Nightstands should be clean and uncluttered, with maybe one or two simple decor items like a lamp or small book. Think of each bedroom as a mini hotel suite—the goal is to create a sense of comfort and elegance.

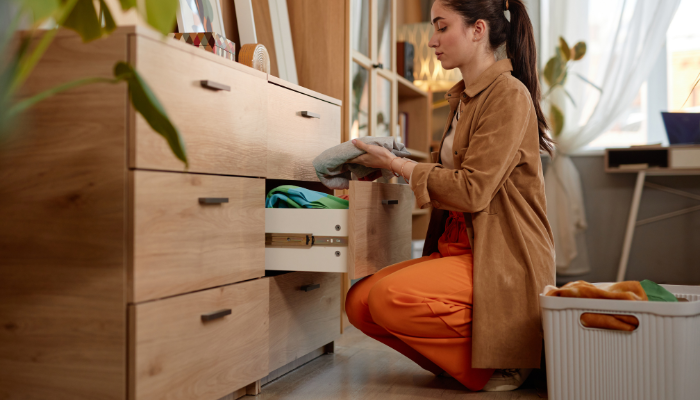
PRO TIP #9 Organize Storage Areas
While closets, garages, and pantries may not be the focus of every photo, they can still be important selling points. If your photographer plans to shoot these areas, take time to organize them neatly. Buyers love to see ample storage space, but if these areas are jam-packed, it can give the impression that your home lacks it. Consider packing up seasonal items or offloading overflow to a temporary storage unit. Organized storage shows your home is functional and well cared for.
PRO TIP #10 Plan to Dissapear During the Shoot
It’s best if the home is completely empty during the photo session. Photographers need the freedom to move around, adjust lighting, and reposition items without interruption. Family members and pets, while beloved, can create distractions and delays. Make arrangements to be out of the house for the duration of the shoot, typically 1–2 hours depending on the size of the home. This allows your photographer to work efficiently and ensures the best possible results.
EXTRA TIP: When you leave the house, turn on all the lights, open all the blinds, make sure the dishes are out of the sink, the toilet seats are DOWN, and the garbage is emptied in every room.
We hire a professional photographer because they understand how to capture your home in the best possible light—literally and figuratively. With the right equipment, angles, and editing skills, they highlight your home’s best features and create images that stand out online. For the agent, this means stronger marketing and more attention on the listing. For the seller, it can mean a quicker sale and potentially a higher final price.

Taking the time to prepare your home for professional photography is one of the smartest investments you can make when selling. Your photos are your home’s first impression—and a well-prepped home tells buyers it’s been loved, cared for, and is ready for its next chapter. At SandPeak Realty, we believe great marketing starts with great presentation. That’s why we partner with top-tier photographers and guide our sellers through every step of the prep process.
If you’re ready to list your home or want a customized photo preparation checklist, contact us today. We’re here to make your selling experience seamless—and to help your home shine online and off.
Preparing your home for professional photos isn’t just about tidying up—it’s about making a powerful first impression that draws buyers in and gets results. By taking the time to follow these tips, you’re setting the stage for a faster sale, stronger offers, and a smoother selling experience. At SandPeak Realty, we guide our clients every step of the way, from prep to closing, with expert marketing and personalized service.
Ready to make your home shine online? Contact us today to schedule your listing consultation and let’s get your property market-ready.
Email Alerts for New Homes,
Save Your Favorites and
Price Change Notifications
HELPFUL ARTICLES
HOME BUYERS
HOME SELLERS
“It was such a pleasure working with Kristy who seemed to have all the answers to our real estate questions. I would highly recommend here and her team who made it all… continued”

SOUTH OFFICE:
5730 MAIN STREET
NEW PORT RICHEY, FL 34652
NORTH OFFICE:
304 NORTH BROAD STREET
BROOKSVILLE, FL 34601
FLORIDA REAL ESTATE BROKER
(727) 232-2192
FL License #CQ1044372
Sitemap | Team SandPeak | Privacy Policy
JOIN OUR
Sign up and stay informed about what is going on with the local market.
©2025 All Rights Reserved | Real Estate Website Design by SandPeak Realty
All data and information set forth on this website regarding real property, for sale, purchase, rental and/or financing, are from sources regarded as reliable. No warranties are made as to the accuracy of any descriptions and/or other details and such information is subject to errors, omissions, changes of price, tenancies, commissions, prior sales, leases or financing, or withdrawal without notice. Square footages are approximate and may be verified by consulting a professional architect or engineer. All rights as to photographs and graphics are reserved to SandPeak Realty. Customers should seek advice and proper legal counsel with respect to all closing costs, timing considerations, financing options, default provisions, zoning implications, renovation considerations and appropriate transfer taxes.